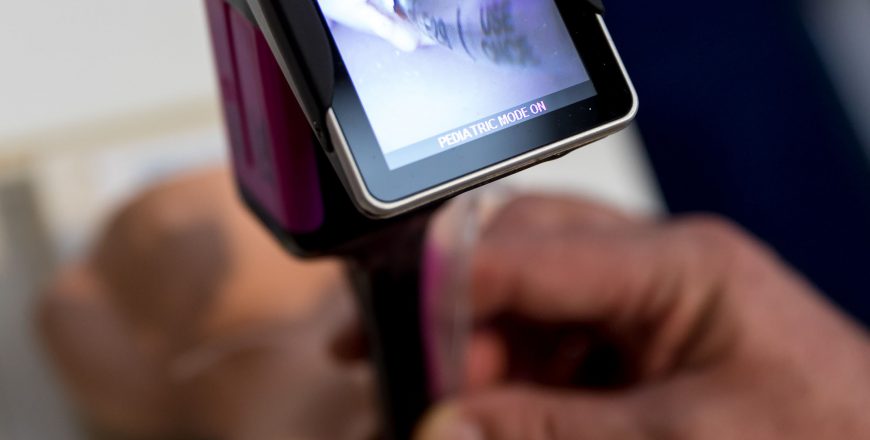
- Video-laryngoscopy Intubation Using 4 Steps
Introduction:
“Welcome to this video demonstration of video-laryngoscopy intubation.
The purpose of this video is to provide a visual guide for the proper use of a video laryngoscope during intubation.
This technique allows for improved visualization of the larynx and can be helpful in difficult airway scenarios.
We will be walking you through the equipment setup, patient positioning, induction, and the actual intubation process.
As always, please feel free to pause the video and take notes as needed.”
Equipment setup:
“First, let’s take a look at the equipment we will be using in this demonstration.
- We have the video-laryngoscopy, which consists of a handle and a blade. The handle connects the camera on the blade to a screen either attached to it or via a wire to a monitor. while the blade is designed to fit the patient’s specific airway.
- We also have the endotracheal tube with lubricated malleable stylet.
- Additionally, we have the medications used for anesthesia induction and muscle paralysis, as well as the syringes and needles needed to administer them.”
Patient positioning:
Proper patient positioning is crucial for successful intubation.
We will be placing the patient in a modified ramp position to optimize visualization of the larynx.
This involves slightly elevating the head of the bed and extending the patient’s neck or using a special pillow.
The patient’s head should be in a neutral position with the ears tragus in line with the sternum.”
Video laryngoscope Intubation Technique:
To prepare for the procedure, it is important to follow the mnemonic A.C.L.S.
A) Select the Appropriate endotracheal tube (ETT) for the patient.
B) Verify that the Cuff of the ETT is functioning properly.
C). Apply Lubrication to both the stylet and the ETT.
D). Ensure that the stylet is Shaped at the same angle as the video laryngoscope blade especially in hyper-angulated types.
Please follow the 4-steps technique for intubation
Look at Mouth then Screen then Mouth then Screen.
First – look at the patient’s mouth: Insert the video-laryngoscopy blade into the patient’s mouth while observing directly, holding the handle with the left hand.
Second – look at the video-laryngoscopy Screen: Once the blade tip is no longer visible, monitor the screen. Identify the epiglottis and gently move the blade forward to obtain the best view of the glottis (Cap Sign).
Third – look at the patient’s mouth again: Carefully insert the endotracheal tube into the patient’s mouth while observing directly to prevent injury to soft tissue. Guide the distal end of the tube to the tip of the video-laryngoscopy blade.
Fourth – look at the video-laryngoscopy Screen: Finish the intubation process by monitoring the screen. Adjust the tube’s angle or rotation as needed. Make sure the stylet is removed, the tube is adjusted, and the cuff is inflated while observing the screen.
Here are some Tips & Tricks
• Regular practice will improve your proficiency with this technique.
• If you have a clear view of the larynx but are unable to insert the tube, try tilting the blade to the left.
• If you have the best view but still cannot pass the tube through the vocal cords, you may be too close. Try moving video-laryngoscopy blade back.
• To have more control over the tube, hold it closer to the connector and farther from the patient’s mouth.
• If you are having trouble passing the endotracheal tube through the vocal cords, withdraw the stylet from 3 to 5 cm to straighten the tip of the tube and then advance it in the correct direction.
• If you still have difficulty passing the tube through the vocal cords, you can try using a bougie while under video-laryngoscopy guidance.
There is a laminated card with these details attached to every video-laryngoscope unit as a reminder, to refresh your memory.
Thank you for watching and we hope you found this video helpful.

